🕊️ Free Mode (Maverick)
HIX is a web server created with Harbour, and its goal is to provide immediate and quick access to a tool that allows you to program any type of web page, web service, etc. It has been designed for simple use by any user at any level, and it is perfect for creating powerful web applications easily and securely.
The language we will use for the backend will be Harbour, using files with the .prg extension.
We could say it is an analog to PHP, Python, and so on, and it offers extraordinary flexibility
when creating our solutions.
This mini-manual does not explain how the web works; it only tries to briefly explain the use and configuration of the server.
HIX gives you an out-of-the-box experience from the moment it starts.

Once the server starts, we can immediately begin adding the different web pages we need.
By default, HIX creates a /www folder that will be our root folder of the system and that we can
change from the configuration file hix.json.
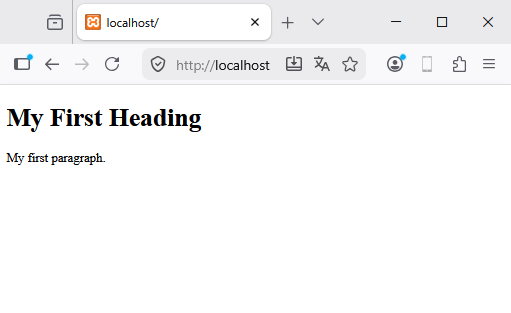
We create a first basic example in our root folder www/index.html.
We will use the same code from https://www.w3schools.com/html/tryit.asp?filename=tryhtml_basic_document
If you refresh your browser, the following screen should appear.
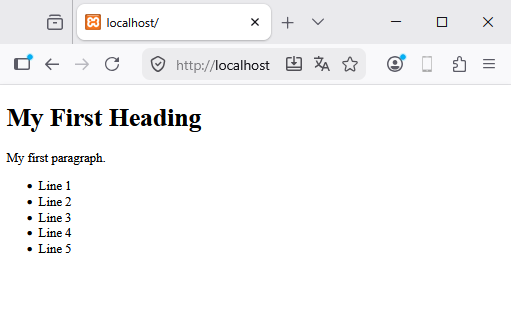
HIX has its own view engine and we can inject Harbour code inside the
directives @prg ... @endprg
<!DOCTYPE html>
<html>
<body>

  <h1>My First Heading</h1>

  <p>My first paragraph.</p>

@prg
  local nI
  local cHtml := '<ul>'

  for nI := 1 to 5
    cHtml += '<li>Line ' + str(nI) + '<br>'
  next

  cHtml += '</ul>'

  return cHtml
@endprg

</body>
</html>
This code results in
You can consult all the view engine features in the section View Engine.
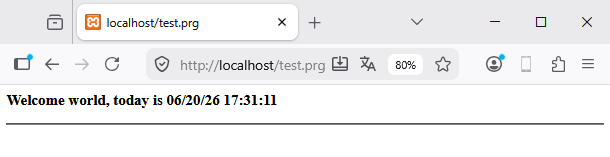
Another feature of HIX is the ability to directly execute *.prg files, for example
if we create www/test.prg
function main()

   local cHtml := ''

   cHtml := '<h3>Welcome world, today is ' + dtoc( date() ) + ' ' + time()
   cHtml += '</h3><hr>'

return cHtml
And we execute https//localhost/test.prg
📋 Forms
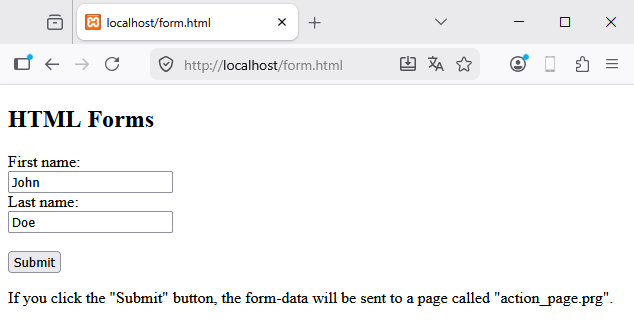
We can create our forms using HTML standards, for example:
https://www.w3schools.com/html/tryit.asp?filename=tryhtml_form_submit.
We will simply change the action file to one with a .prg extension → action_page.prg.
We will save the file as form.html.
<!DOCTYPE html>
<html>
<body>

  <h2>HTML Forms</h2>

  <form action="action_page.prg">
    <label for="fname">First name:</label><br>
    <input type="text" id="fname" name="fname" value="John"><br>
    <label for="lname">Last name:</label><br>
    <input type="text" id="lname" name="lname" value="Doe"><br><br>
    <input type="submit" value="Submit">
  </form>

  <p>If you click the "Submit" button, the form-data will be sent to a page called "action_page.prg".</p>

</body>
</html>
We would see the following form.
Continuing with the example, we will create action_page.prg (a .prg type file) to collect
the parameters and, in this case, display the data on screen.
function main()

  local hData := UGet()
  local cHtml := ''

  cHtml += '<h2>Information page</h2><hr>'
  cHtml += 'You are user ' + hData[ 'fname' ] + ' ' + hData[ 'lname' ]
  cHtml += '<hr>'
  cHtml += '<small>Processed at ' + dtoc(date()) + ' ' + time() + '</small>'

return cHtml
If we execute form.html, we can see that the action executes action_page.prg.
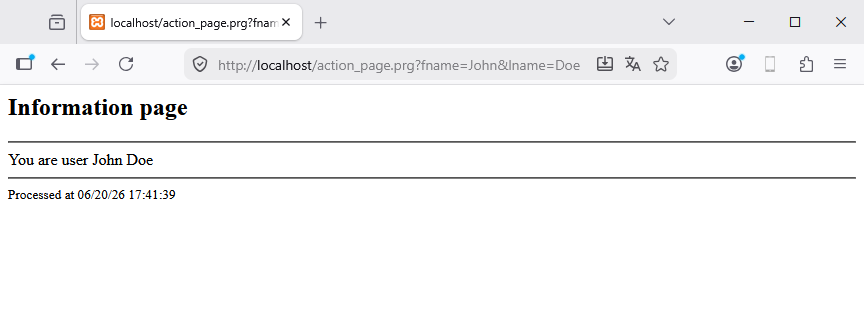
Perhaps the most important thing here is to observe how the UGet() function is used to retrieve
the form parameters. This function is part of the different Helpers that will help the
programmer. In Helpers you can consult all
available functions.
📌 Summary
HIX offers you the power from the moment it starts to quickly serve your web. Don't forget to consult these sections that will add power to your system.
- The view engine will give you all the power to create logical pages.
- Don't forget to consult the helpers section.
- Add professional techniques like routes to your pages.